After you finished the other yoga, it is best to do this exercise. This way you're resting after the asanas and doing the eye exercises at the same time, thus reducing the time taken to do your yoga routine.
When doing the eye exercises keep your eyes open and don't move your head.
Sit down and open your eyes, then check on your posture. Keep your spine erect, Hands on the knees relax and keep your head straight. The whole body must be motionless; nothing must move except the eyes.
Raise your eyes and find a small point that you can see clearly without straining, without frowning, without becoming tense and, of course, without moving your head. While doing this exercise look at this point each time you raise your eyes.
Next, lower your eyes to find a small point on the floor which you can see clearly when glancing down. Look at it each time you lower your eyes. Breathing should be normal. In other words, you don't have to do deep breathing.
Exercise 1
Move your eyes upwards as far as you can, and then downwards as far as you can. Repeat four more times. Blink quickly a few times 1 to relax the eye muscles.
Eye Exercises
Exercise 2
Now do the same using points to your right and to your left, at eye level. Keep your raised fingers or two pencils on each side as guides and adjust them so that you can see them clearly when moving the eyes to the right and to the left, but without straining.
Keeping the fingers at eye level, and moving only the eyes, look to the right at your chosen point, then to the left. Repeat four times. Blink several times, then close your eyes and rest.
Exercise 3
Choose a point you can see from the right corner of your eyes when you raise them, and another that you can see from the left corner of your eyes when you lower them, half closing the lids. Remember to retain your original posture: spine erect, hands on knees, head straight and motionless.
Look at your chosen point in right corner up, then to the one in left corner down. Repeat four times. Blink several times. Close the eyes and rest.
Now do the same exercise in reverse. That is, first look to the left corner up, then to the right corner down. Repeat four times. Blink several times. Close the eyes and rest.
Exercise 4
This exercise must be done only after few days you start the eye exercise.
Slowly roll your eyes first clockwise, then counterclockwise as follows: Lower your eyes and look at the floor, then slowly move the eyes to the left, higher and higher until you see the ceiling.
Now continue circling to the right, lower and lower down, until you see the floor again. Do this slowly, making a full-vision circle. Blink, close your eyes and rest. Then repeat the same action counterclockwise.
Do this five times then blink the eyes for at least five seconds.
When rolling the eyes, make as large a circle as possible, so that you feet a little strain as you do the exercise. This stretches the eye muscles to the maximum extent, giving better results.
Exercise 5
Next comes a changing-vision exercise. While doing it you alternately shift your vision from close to distant points several times.
Take a pencil, or use your finger, and hold it under the tip of your nose. Then start moving it away, without raising it, until you have fixed it at the closest possible distance where you can see
it clearly without any blur. Then raise your eyes a little, look straight into the distance and there
find a small point which you can also see very clearly.
Now look at the closer point-the pencil or your finger tip then shift to the farther point in the distance. Repeat several times, blink, close your eyes and squeeze them tight.
Exercise 6
Close your eyes as tightly as you possibly can. Really squeeze the eyes, so the eye muscles contract. Hold this contraction for three seconds, and then let go quickly.
It relaxes the eye muscle after the exercise. Blink the eyes a few times.

Palming (Eye exercise)
Exercise 7
"Palming" is very relaxing to the eyes which is most important for preserving the eyesight and also has a beneficial, relaxing effect on your nervous system.
It's an ideal way to finish off the eye exercises.
Remain seated on the floor. Draw up your knees, keeping your feet on the floor and slightly apart. Now briskly rub your palms to charge them with electricity and place the cupped palms over your closed eyes. The fingers of the right hand should be crossed over the fingers of the left hand on the forehead. The elbows should rest on your raised knees and the neck should be kept straight. Don't bend your head. Do the deep breathing while palming your eyes.
If the palming is done for only a short period one can do deep breathing for half a minute or so at first, gradually increasing it every week.
Benefits:
Keeps away with eye strain, and tension.
Due to enough supply of blood in nerves and eye, Vision would be clear and rich.
Also improve the quality of vision.


.jpg)

.jpg)


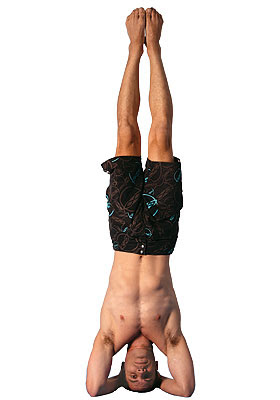
 The Shoulder Stand (Sarvangasana)
.jpg)


